
Site Walkover Survey: What It Is, What to Record, and Why It Matters

Why a Site Walkover Survey Should Never Be Skipped
Desk data is powerful - but it can miss what’s right under your feet. A site walkover survey validates desk-based findings, exposes hidden risks, and ensures your Phase 2 intrusive investigation is targeted and efficient. For UK projects, it’s considered good practice under relevant British Standards and industry guidance for geotechnical and geoenvironmental work.
Skipping it increases the chance of unexpected costs, delays, and design changes later.
What Is a Site Walkover Survey?
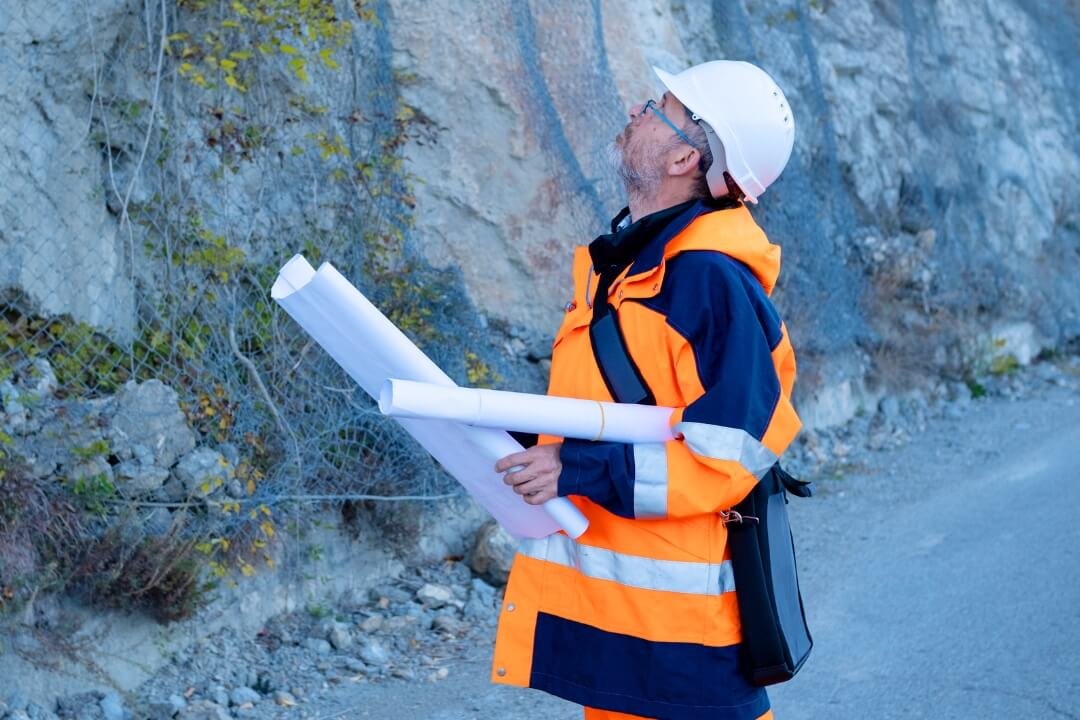
A site walkover survey is the bit where boots hit the ground. An experienced geotechnical/geoenvironmental engineer visits your site to see what the desk study can’t: how the ground actually behaves, where water flows, what structures and hardstanding are telling you, signs of contamination, invasive species, utilities and access constraints and even off-site influences that could affect risk.
It’s a structured, evidence-led inspection that validates assumptions, surfaces hidden issues and gives you a reality check before you spend on drilling.
Ahead of the visit we review maps, BGS data and records so the walkover is focused; on site we take geo-referenced photos, mark observations on a plan, and note anything that confirms or challenges the desktop view.
The findings update the Conceptual Site Model (CSM), refine the preliminary risk assessment and shape the Phase 2 scope - what to investigate, where, how deep, what tests, plus any H&S or permitting needs. Deliverables typically include a dated photo log, an annotated plan with locations, an updated CSM, an initial risk register and clear next-step recommendations (often packaged within a planning-ready Phase 1 Desk Study).

What to Record: Your Field Checklist (with capture tips)
Use this as a concise, repeatable checklist on every walkover. Capture photos (wide + detail), GPS pin/chainage, dimensions, and notes on potential Source–Pathway–Receptor (CSM) for each item.
1) Access, Safety & Constraints
Safe access/egress for personnel, plant and delivery routes; turning circles; weight limits; overhead clearance.
Overhead/underground hazards: power lines, low beams, culverts, chambers, vent pipes, UXO markers, voided ground.
Site security & condition: fencing/gates, trip hazards, unstable slopes or faces, collapse risk, confined spaces.
Capture: mark haul roads and exclusion zones on the plan; note permits required (track possessions, highways notices).
Why it matters: informs RAMS, plant selection, permit lead-times and realistic mobilisation dates.
2) Site Setting & Topography
Levels & slopes; cut/fill, embankments, retaining walls; evidence of movement (bulging, scarps, tension cracks).
Drainage pathways: low spots, rills, standing water, tide marks/debris, culvert inlets/outfalls.
Capture: simple gradient estimate, wall heights/condition, water depth/odour; sketch flow routes.
Why it matters: flags instability and groundwater controls; guides drill positions, casing and dewatering strategy.
3) Structures & Hardstanding
Building/floor slab/tank types & condition (cracking, settlement, heave, corrosion, spalling).
Buried/legacy features: former basements, inspection covers, fuel interceptors, infilled pits or cut-and-cover structures.
Capture: photo with scale; crack width/spacing; note construction era/materials if known.
Why it matters: evidence of ground performance; targets intrusive locations; informs contamination and gas pathways.
4) Ground Evidence (Made Ground & Natural)
Made Ground indicators: thickness (exposures), spoil tips, relict foundations, debris lenses, odours/staining.
Natural ground exposures: rock outcrops, soil horizons (colour, texture, moisture), iron/manganese staining.
Capture: describe strata (e.g., “silty CLAY with ash inclusions”), note moisture, consistency, and any sulphate smell.
Why it matters: early read on compressibility/aggressivity; helps pick lab suites (sulfate, pH, metals, hydrocarbons).
5) Contamination Indicators
Visual: oil sheens, tars, clinker/ash, fill with asbestos-containing fragments (suspect), chemical containers.
Olfactory: hydrocarbon/solvent odours; rotten-egg (sulfide) smell.
Vegetation stress: bare patches, chlorosis, dieback.
Capture: close-ups + location; don’t disturb suspected ACM—record and flag.
Why it matters: screens for Phase 2 sampling, waste classification, remediation strategy, and gas/vapour risk.
6) Vegetation, Trees & Ecology
Tree species, size & proximity to proposed structures; stumps/removed trees (shrink–swell history).
Invasive species (e.g., Japanese knotweed, giant hogweed); protected habitats or species evidence.
Capture: mark root protection areas; map invasive stands with extent.
Why it matters: foundation design (heave/shrinkage), programme and cost (eradication/controls), planning conditions.
7) Water, Groundwater & Services
Surface water: ditches, streams, springs/seepages, ponds; culverts (condition/flow direction).
Utilities (visible): manholes, hydrants, markers, overhead lines; correlate later with PAS 128/stat plans.
Capture: photos of covers with codes (SW/FW/COMMS/GAS); note flows and staining at outfalls.
Why it matters: influences infiltration/SuDS viability, borehole design/standpipes, service strike risk and permits.
8) Off-Site Influences (beyond the red line)
Adjacent land uses: industry, fuel/storage yards, landfills, rail corridors, rivers/canals, busy highways.
Potential receptors: watercourses, residential areas, schools, abstractions.
Capture: bearings/distances; note elevation differences (up-/down-gradient).
Why it matters: completes CSM; informs contamination migration and gas pathways.
9) Mining & Ground Instability (where relevant)
Depressions/crowns, sinkholes, bell-pit evidence; shaft caps/markers; quarry faces; backfilled ground.
Historic extraction (coal, chalk, gypsum, ironstone) indicators; settlement or tilting furniture/fences.
Capture: location + dimensions; cross-reference later with Coal Authority/mineral plans.
Why it matters: triggers CMRA, targeted probing/rotary, potential grouting or piled solutions.
10) Photos, Mapping & Metadata (make it actionable)
Geo-tagged photos (wide/context + detail); include scale (ruler, boot, cone).
Annotated plan (hand sketch okay) with feature IDs and GPS pins; weather/date/time; access notes.
Why it matters: traceability in reports; rapid scoping of Phase 2 (holes, depths, tests, monitoring).
How a Walkover Informs the Phase 1 Desk Study/PRA
Confirms or challenges desk assumptions (e.g., ground-gas sources, flood pathways, fill presence).
Feeds into an evidence-based CSM (source-pathway-receptor) and preliminary risk ranking.
Sharpens the Phase 2 scope - what to drill, where, how deep, what tests—and access logistics.
Provides planning-friendly documentation for local authorities and stakeholders.

When Should You Do One?
You should schedule a site walkover as early as possible - ideally during feasibility and always before scoping any intrusive (Phase 2) works - so the investigation plan is targeted and safe. It’s also essential before land acquisition as part of due diligence, for brownfield sites and sensitive end uses (housing, schools) where contamination and ground-gas risks are higher, whenever lenders or insurers request a ground/contamination review to unlock funding, and after major site changes (demolition, earthworks, new drainage) to refresh the Conceptual Site Model and keep planning submissions accurate.

How Long Does It Take?
Most small to medium sites are surveyed in half to one day, with the walkover note, photos and CSM updates typically issued within a few working days, depending on complexity and access permissions.
Common Mistakes to Avoid
Treating it as a “tick-box” visit with no structured checklist
Missing off-site influences just beyond the red line
Not correlating field obs with utility records (PAS 128 surveys where needed)
Poor geo-tagging of photos and lack of GPS/chainage references
No clear link from observations to Phase 2 design (holes, tests, depths, safety controls)
Deliverables You Should Expect (and how they’re used)
1) Dated, geo-referenced photo log + annotated plan
A curated set of wide + detail photos with timestamps and GPS/OS grid refs, each captioned to explain what you’re seeing (e.g., “oil sheen at outfall; FW manhole MH3 overflowing”). Expect a keyed site plan (PDF/CAD) showing photo locations, observed hazards, access routes, utilities, watercourses and any suspect Made Ground.
Why it matters: traceable evidence for planners and designers; quickly informs Phase 2 locations, H&S controls and pricing.
2) Updated Conceptual Site Model (CSM) + preliminary risk register
A concise CSM table/diagram mapping source–pathway–receptor linkages (e.g., hydrocarbon-impacted Made Ground → permeable alluvium → controlled waters). Paired with a risk register that ranks each linkage (likelihood × consequence), notes uncertainty, and flags data gaps.
Why it matters: aligns with Phase 1/PRA expectations; gives a defensible basis for what to investigate next (and what not to).
3) Recommendations for intrusive scope + safe access method
A practical, itemised Phase 2 proposal outline: investigation locations (with coordinates), techniques (TPs, WS, rotary), target depths, in-situ tests (SPT/DP/PLTs), monitoring (gas/water), and lab suites (e.g., metals, TPH/PAH, asbestos in soil, sulfate/pH). Includes RAMS headlines: plant, track mats, exclusion zones, lifting, dewatering, traffic management, and utility clearance (stat plans, CAT & Genny, PAS 128 where required).
Why it matters: accelerates procurement, keeps crews safe, and prevents over/under-scoping that wastes time and budget.
4) Consents, constraints & programme notes
A checklist of likely permissions and timing constraints tailored to the site, for example:
Environment & water: EA flood zones/SPZs, Flood Risk Activity Permit, Ordinary Watercourse Consent, discharge permits.
Mining: Coal Authority permission/CMRA triggers.
Highways & rail: Section 50 street works permit, road space bookings, National Highways requirements, Network Rail Asset Protection.
Utilities: wayleaves/plant protection near high-pressure mains, electrical clearances.
Ecology & trees: survey windows, protections (e.g., BS 5837 RPAs), invasive species controls.
Heritage/archaeology: scheduled monument or conservation area interfaces.
Why it matters: de-risks timeline and informs the real earliest start dates for works and planning submissions.
Packaging & format you can request
One planning-ready PDF (with bookmarks) plus editable CSV/XLSX risk register and CAD/GIS layers (DWG/GeoJSON).
Photo log with filenames that include date-location-feature for easy reuse in reports.
A short executive summary (1–2 pages) you can drop straight into a Phase 1 Desk Study or planning note.
Together, these deliverables turn a walkover from “tick-box” into an actionable bundle that supports your Phase 1 report, scopes Phase 2 efficiently, and keeps planners, designers and contractors aligned.
FAQs
Is a site walkover mandatory?
Not always by law, but it is widely expected by planners and lenders and considered best practice to support a Desk Study/PRA.
Can satellite imagery replace a walkover?
No. Imagery can’t reliably pick up odours, subtle subsidence, services, invasive plants, underground entries or current site uses.
Who should carry it out?
A competent geotechnical/geoenvironmental engineer familiar with the relevant British Standards and risk assessment methods.
What if access is restricted?
Record vantage-point observations, use aerial imagery and consult adjacent landowners; then arrange a controlled revisit once access is granted.
What does it cost?
Fees vary by size, travel and reporting requirements, but are a fraction of the cost of retesting or redesign later.
Book a Site Walkover with Northpoint
Planning a Phase 1 Desk Study or scoping Phase 2 intrusive works? Put boots on the ground first. Our chartered engineers carry out structured walkovers that validate desk findings, surface hidden risks, and shape a targeted, safe investigation plan.
BGA Member · RISQS Verified · Constructionline Gold